Getting Radon Fan Installation Right: What Homeowners Should Know
Why fan placement matters more than you think
After years of testing and installing radon mitigation systems across St. Louis, I have seen good systems and bad ones. The difference almost always comes down to the radon fan installation. A fan that is undersized, poorly located, or incorrectly vented will not pull enough radon gas from beneath the slab, and the whole radon mitigation effort becomes a waste of money.
Radon fan installation is not something you can just guess at. It requires understanding air pressure, pipe routing, and the specific conditions of your basement slab or crawlspace. I have been on calls where a homeowner tried to save a few hundred dollars by doing it themselves, only to end up with a manometer reading that showed zero pressure difference. That means the fan motor was running but no radon reduction was happening. The soil pipe was not sealed properly, and the discharge point was too close to a window, so the gas actually re-entered the house.
This article walks through the key decisions in a professional radon fan installation. Whether you are planning to hire a mitigation contractor or just want to understand what they should be doing, these details will help you judge whether the job is being done right.
Active soil depressurization: the core principle
Most modern radon mitigation systems use a method called active soil depressurization. A fan creates negative pressure under the foundation, which prevents radon gas from seeping through cracks in the basement slab or through gaps in a crawlspace floor. The gas is then routed through a soil pipe and expelled above the roofline, where it dilutes safely.
The fan is the heart of that system. A well-executed radon fan installation ensures the fan is sized correctly for the square footage of the house, the soil type, and the number of suction points. A fan that is too weak will not create enough depressurization. A fan that is too strong can actually pull too much air, which wastes electricity and can even cause backdrafting in combustion appliances like water heaters and furnaces.
Choosing the right fan for your home
Not all radon fans are the same. I have used several brands over the years, and each has its strengths. The most important factor is the pressure rating. A fan motor must overcome the resistance of the soil and the pipe. In clay-heavy soils common to some parts of St. Louis, the resistance is higher. A standard fan might not cut it.
A good mitigation contractor will calculate the static pressure before choosing the fan. They will also consider noise. A fan installed inside a living space can be annoying if it hums constantly. Many newer fans are insulated and run quietly, but placement still matters. I have seen fans mounted in closets, attics, garages, and outside the house. Each location has trade-offs between noise, accessibility for maintenance, and temperature extremes that affect fan life.
Key factors in fan selection
- Static pressure rating: higher for clay soils or longer pipe runs
- Airflow capacity: measured in cubic feet per minute (CFM), matched to house size
- Noise level: sound-dampened models are worth the extra cost
- Power consumption: a more efficient fan saves money over time
- Warranty and durability: look for at least a five-year warranty
Piping and routing: the hidden details
The fan is only one part of the system. The soil pipe that connects the suction point under the slab to the fan, and then from the fan to the discharge point, must be airtight. A single leak can defeat the entire radon mitigation system. I have seen systems where the pipe was not glued properly at a joint, and the manometer showed zero vacuum. The fan was running, but the leak was pulling air from inside the house instead of from under the slab.
The pipe should also be sloped slightly so that any condensation drains back toward the suction point. In cold climates, condensation can freeze inside the fan or the pipe, blocking airflow. Proper insulation and heat tracing may be needed in extreme cases, but in most St. Louis homes, a simple slope and a few inches of insulation are enough.
The discharge point must be at least 10 feet above ground level and away from windows, doors, and air intakes. The EPA recommends at least 12 inches above the roofline, but local codes may vary. The goal is to ensure that the radon gas does not re-enter the home or affect neighbors.
Post-installation verification: not optional
A common mistake is assuming that once the fan is running, the problem is solved. That is not true. Post-installation verification is the only way to know if the radon fan installation actually worked. This involves two things: a manometer reading and a follow-up radon test.
The manometer is a simple U-tube gauge that shows the pressure difference between the inside of the pipe and the surrounding air. A typical reading for a working system is between 0.5 and 1.5 inches of water column. If the reading is zero, there is a leak or the fan is not powerful enough.
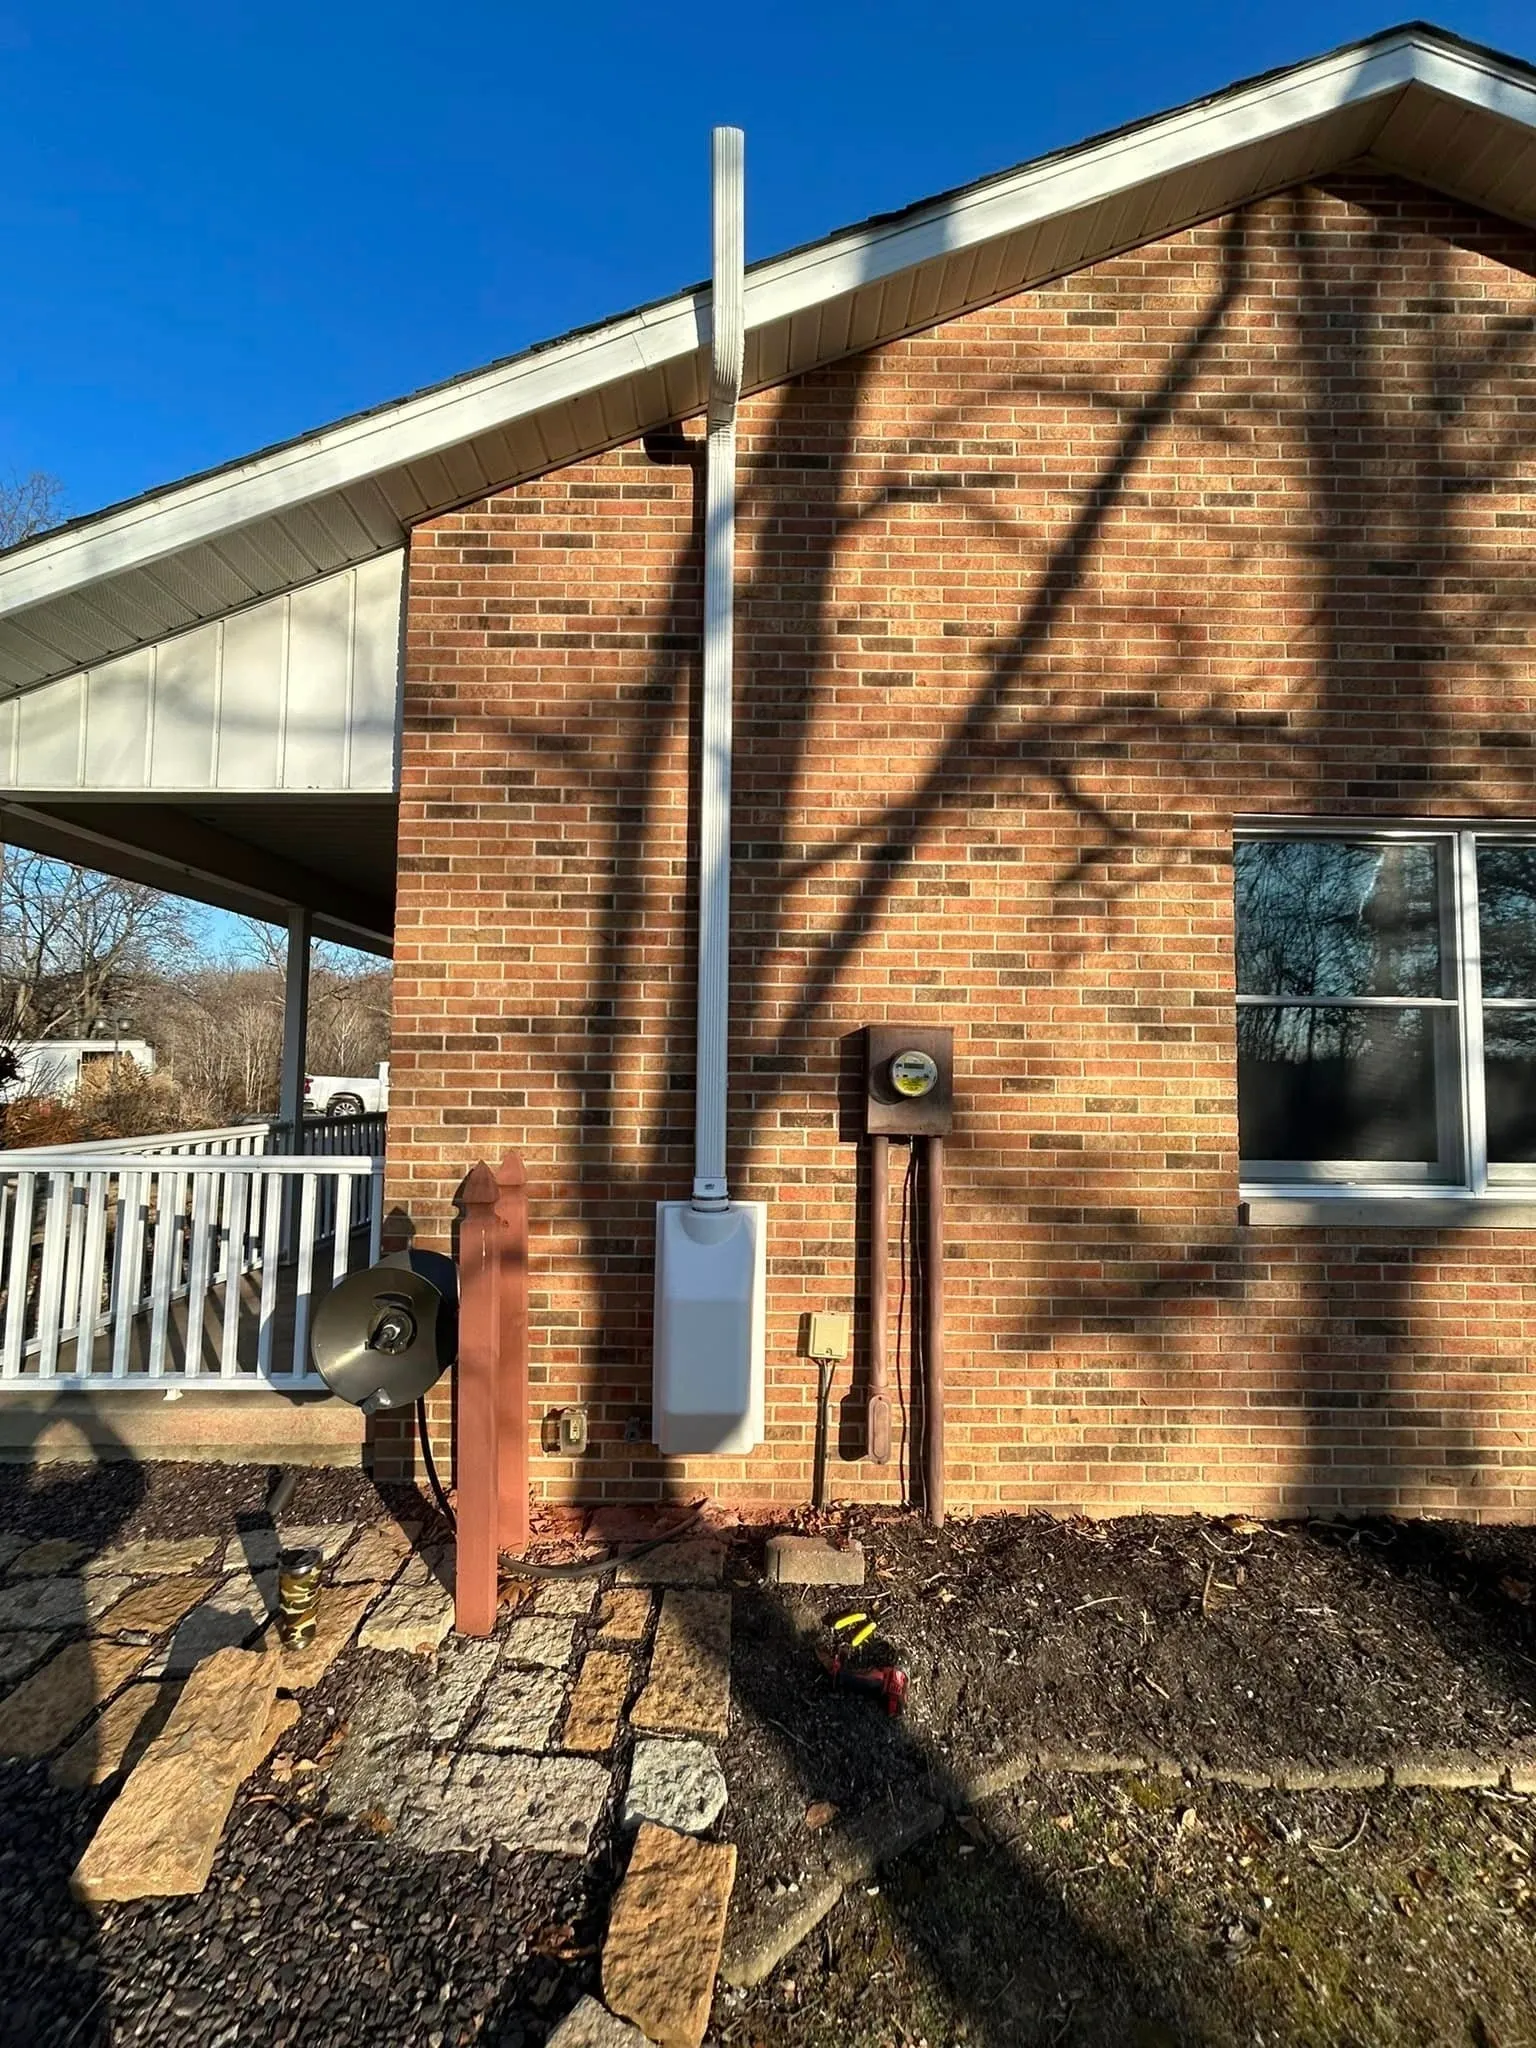
After the system is running for at least 24 hours, a radon detection kit should be placed in the lowest livable area of the house. The test should run for at least 48 hours, preferably longer. The EPA recommends a follow-up test within 30 days. Only then can you be confident that radon reduction has been achieved.
Common problems I see in the field
Over the years, I have been called to fix many systems that were installed incorrectly. Here are the most common issues:
- Fan installed in an attic without proper support, causing vibration noise
- Discharge point too low, allowing radon gas to re-enter through a nearby window
- Soil pipe not sealed at the slab penetration, drawing air from inside the house
- Manometer not installed, so the homeowner never knew the system was not working
- Fan undersized for the soil type, resulting in poor depressurization
Each of these problems could have been avoided with a careful radon fan installation. Hiring an experienced mitigation contractor is the best way to ensure these details are handled correctly. A contractor who uses a manometer and performs post-installation verification is worth the investment.
Why I recommend professional installation
I am not saying that every homeowner is incapable of installing their own radon mitigation system. Some are skilled, and I have met a few who did a decent job. But the stakes are high. Radon gas is the second leading cause of lung cancer after smoking, according to the EPA. A system that is not installed correctly gives a false sense of safety.
A professional radon fan installation from a company like Air Sense Environmental includes site evaluation, proper fan selection, careful pipe routing, and post-installation verification. They also know the local soil conditions in St. Louis, which can vary from clay to sand to rock. That local knowledge makes a real difference in system performance.
If you are considering radon mitigation, ask the contractor about their fan installation process. Do they use a manometer? Do they perform a follow-up radon test? Do they have experience with sub-slab depressurization and crawlspace systems? These questions will help you separate a real professional from someone who just mounts a fan and hopes for the best.
Final thoughts
A radon fan installation is not the most expensive part of a mitigation system, but it is the most critical. Getting it right means lower radon levels, lower energy costs, and peace of mind. Getting it wrong means wasted money and continued exposure to radon gas.
Take the time to understand what goes into a proper installation. Read the manometer. Confirm the discharge point is safe. Test after installation. And if you hire someone, make sure they do all of those things. Your health depends on it.
Ends · RADONFANINSTALLATIONHAVEN